In today’s world, having a strong and consistent WiFi signal is crucial. However, even advanced WiFi routers can face challenges in reaching every part of your home or workplace. That’s where the Linksys WiFi extender comes in to save the day.
Linksys WiFi extenders enhance your wireless signal, ensuring uninterrupted connectivity throughout your entire space. In this guide, we will take you on a step-by-step journey showing you how to effortlessly connect a Linksys WiFi extender to extend the reach and reliability of your network.
Whether you’ve been struggling with dead WiFi zones, slow connections, or dropped signals, this guide is here to help you improve the stability and coverage of your network.
Join us as we simplify the process of setting up a Linksys WiFi extender, empowering you to enjoy connectivity in every part of your life – from streaming videos in the basement to attending video conferences in the attic.
Table of Contents
Understanding Linksys Wi-Fi Extenders
Before we delve into the setup process, it’s essential to understand what a Linksys WiFi extender is and how it functions. In simple terms, a WiFi extender is a device specifically designed to enhance your existing WiFi network’s range and signal strength.
Linksys, a reputed name in the networking industry, offers a range of WiFi extenders tailored to meet various requirements.
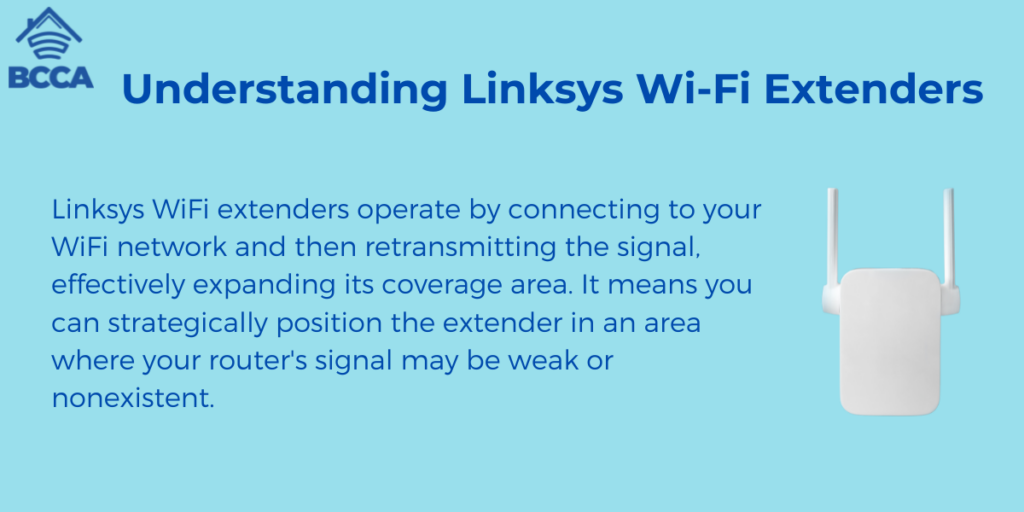
Linksys WiFi extenders operate by connecting to your WiFi network and then retransmitting the signal, effectively expanding its coverage area. It means you can strategically position the extender in an area where your router’s signal may be weak or nonexistent. It enables you to enjoy a reliable connection in previously dead zones.
Now, let’s delve into the details of how you can connect your Linksys WiFi extender and begin experiencing uninterrupted coverage.
Linksys Wifi Extender Setup Checklist
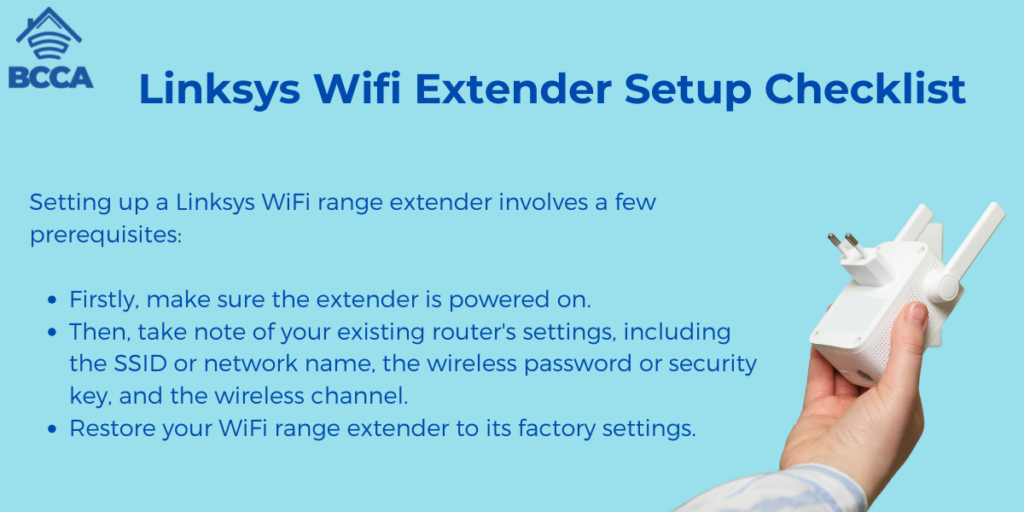
Setting up a Linksys WiFi range extender involves a few prerequisites:
- Firstly, make sure the extender is powered on.
- Then, take note of your existing router’s settings, including the SSID or network name, the wireless password or security key, and the wireless channel.
- Restore your WiFi range extender to its factory settings.
These steps are essential before proceeding with the setup process. Now, let’s dive into how to set up a Linksys range extender. There are two methods – manual and WPS setup. Both ways will be explained in detail below so you can choose whichever is convenient.
Linksys WiFi Extender Setup – Manual Method

Setting up your Linksys extender manually? Follow these steps
- Ensure that your computer, laptop, and range extender are in the same room.
- Plug both the range extender and computer into electrical outlets.
- Open a web browser. Enter “extender.linksys.com” in the URL bar.
- You will see a login page where you need to enter your credentials to log in.
Linksys WiFi Extender Setup – WPS Method
The WiFi Protected Setup (WPS) is a security standard that helps establish connections between the extender and wireless devices. There are two ways to set up a WiFi extender using WPS. You can use the WPS button on the extender or access the web-based “extender.linksys.setup” page and choose one of three available options.
Option 1: Using the WPS Button
Here’s how to set up Linksys WiFi Extender using the WPS button:
- Insert the range extender into a power outlet.
- Hold the WPS button on your extender.
- You’re done when it indicates that the WiFi extender setup is successful.
Note: If you have a dual-band Linksys extender, repeat these steps.
Option 2: Using the Web-Based WPS Button
- Access “extender.linksys.setup” through a web browser.
- Choose one of three options on the page for setting up your WiFi extender using WPS.
These methods will help you set up your Linksys range extender easily and efficiently!
You have three options to set up your Linksys wireless range extender using the web-based WPS button.
- Using WPS Button
- Log in to your Linksys wireless range extender.
- Navigate to the Wireless section.
- Locate the WPS button. Click on it.
- Press the WPS button on your device to initiate the WiFi setup process.
- Finally, click on the Enable option next to the WPS button.
- Using the WPS PIN
If your device has a WPS PIN, you need to input that number in the designated field on the extender setup web page.
- Using the Routers PIN
If your client device requires the router’s PIN, enter that number in the field on the extender linksys.setup page.
Once you see that the WPS light remains continuously lit, it indicates that your WiFi extender setup is complete.
If you encounter any issues during this process, try resetting your extender to factory settings and attempt again.
Configuring Linksys WiFi Extender
Done setting up your Linksys WiFi range extender? Great! Now, it’s time to configure it according to your preferences. Configuration means adjusting the settings to suit your needs, as using the default settings may not be ideal for your WiFi network. Let me guide you through the process of changing the Linksys extender settings:
- Turn on your range extender.
- Open a web browser. Go to the extender setup page.
- Enter your user ID and password in the provided fields, then click on Log In.
- Next, select Basic Settings from the options menu.
- Fill in your desired network name and password in their fields for extender.linksys.setup. You can modify settings such as SSID broadcast, channel width, security mode, and more in the Advanced Settings section.
- If your extender supports dual-band functionality, remember to adjust the settings for the 5 GHz network using the same steps mentioned earlier.
- Finally, save all your changes by clicking on the Save button.
That’s it! Your new settings will take effect once you save them.
So once you have completed the setup of your Linksys range extender’s setup, you can modify its settings. Are you encountering any problems during the configuration? Don’t worry! In the following section, we’ll go over some troubleshooting tips to help you quickly resolve the issue.
Troubleshooting Linksys WiFi Extender: Common Issues and Solutions
Below are some issues encountered during setup and their quick solutions
Problem: Extender not connecting to the internet
Solution: Ensure the extender is connected correctly to the router’s network. Restart both devices and double-check the WiFi password.
If needed, try repositioning the extender closer to the router or resetting it back to factory defaults.
Problem: Unstable signal
Solution: Improve signal strength by placing the extender near the router. Avoid obstructions. Please keep it away from electronic devices that could interfere with the signal. Check for any firmware updates for your extender. Install them if available.
Problem: Extender Slowing Down Internet Speed
Solution: Ensure that you’ve positioned the extender in a central location. You can also reduce the number of devices on the extender.
Problem: Led Lights On Extender Not Working Or Blinking
Solution: Verify if your extender has a power supply and proper connection. Restart it. Ensure it is placed in a ventilated area. If issues persist, consider resetting your extender or contacting Linksys support for assistance.
Frequently Asked Questions
Absolutely! The Linksys extender is designed to connect with any WiFi router regardless of the brand or model. It supports WiFi protocols, making compatibility a breeze.
No need to worry about that! When setting up your WiFi extender, it doesn’t necessarily have to be in the same room as your router. Just ensure it’s within range of your router’s WiFi signal so you can enjoy a stable connection throughout your space.
The configuration time for the Linksys extender may vary depending on factors. However, completing the setup process typically takes around 5 to 10 minutes and is hassle-free.
The WPS (WiFi Protected Setup) button on your Linksys extender serves a purpose. By pressing this button on both your extender and router simultaneously, they can automatically establish a secure connection without requiring manual configuration or entering network credentials.
Final Thoughts
A Linksys WiFi extender can be incredibly helpful in expanding the reach and reliability of your network. By following this guide, you can connect your extender and experience a WiFi signal in those areas of your home or office that previously had connectivity issues.
It’s important to remember that finding the location for your extender and ensuring network security is crucial for getting the most out of your Linksys WiFi extender. So go ahead and say goodbye to those dead WiFi zones and enjoy uninterrupted connectivity wherever you go!
Chris loves technology, specifically smart home technology! With both hands-on and executive leadership experience in his corporate career, Chris stays abreast of emerging technology and solutions and immerses himself in BCCA when not in the office.