
Did you know that the average range of a router’s WiFi signal is 150 feet or 46 meters when used inside a home? While this coverage is impressive, it may not guarantee a WiFi experience for all your devices, as some might still encounter signals within that range.
As you move away from the router, the wireless connectivity strength gradually deteriorates. To overcome this challenge, incorporating the Altice WiFi extender into your setup provides a solution to extend your WiFi coverage.
The Altice WiFi extender is a tool that expands the reach of your network. Placing these extenders throughout your home can effectively counteract the weak signal strength experienced at distances from the router. This results in a robust WiFi connection ensuring seamless connectivity for your devices even in previously considered dead zones.
In this article, we will explore in depth how the Altice WiFi extender works and provide a step-by-step guide to successfully configuring and integrating it with your existing WiFi network.
Table of Contents
Altice WiFi Extender
The Altice WiFi Extender is a device that enhances the coverage of your home’s WiFi network when connected to your router. It displays the strength of the WiFi connection with devices through a set of bars on the icon.
However, it’s important to note that these bars only indicate the strength of the network on your device and not the quality of your internet connection. Like in cellular networks, they indicate signal strength.
With the Altice WiFi extender, you no longer have to confine yourself to a room where the router is located just because you’re experiencing WiFi signals for online gaming or streaming HD videos. The extender expands the range of your WiFi network, eliminating concerns about ping and frequent disconnections.
So how does it work?
Think of it as an amplifier for your existing WiFi setup. It receives signals from your router. Boosts them effectively, extending the overall coverage area.
It’s worth mentioning that if your main router receives an internet connection from your service provider, it will also affect the speed the extender provides. It’s because a range extender doesn’t directly influence your internet service.
It simply enhances the reach of connectivity. Therefore by utilizing a WiFi range extender, you can access the internet in areas that previously had no coverage.
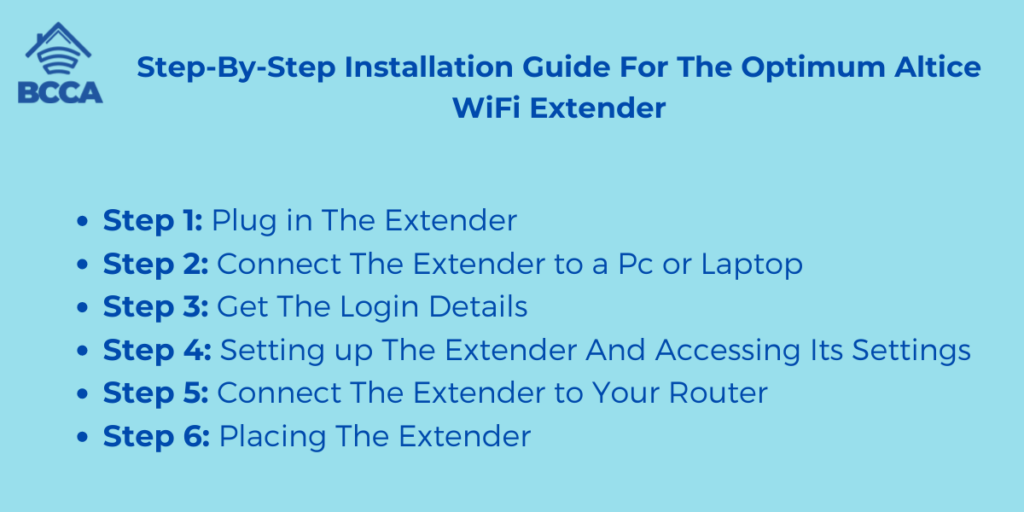
Step-By-Step Installation Guide For The Optimum Altice WiFi Extender
One thing to note about WiFi extenders is that they can be really helpful when WiFi signals struggle to reach difficult areas of your home.
When you set up a WiFi router, choosing its location is important as sometimes the signal doesn’t reach everywhere!
Now let’s discuss the requirements for setting up an Alice WiFi Extender;
- It would help if you had a working outlet.
- Make sure you already have a router/modem set up.
- Ensure there is a WiFi connection.
After understanding how WiFi extenders work and where they connect, it’s time to learn how to set up your Altice WiFi Extender.
Let’s dive into the instructions assuming you’ve just unboxed the extender and are starting from scratch!
Step 1: Plug in The Extender
Your first task is to plug the extender into an outlet. It will power your extender and allow you to effectively configure its functionality and settings.
To begin, you should plug the extender into your computer or laptop outlet. In the next step, connect the devices using an Ethernet cable.
After securing the extender in the outlet, simply press the power button to turn on the device.
Step 2: Connect The Extender to a Pc or Laptop
Once you have successfully installed the extender and plugged it into a power outlet, you must establish a connection with your PC or laptop. It will allow you to access and configure its settings.
Before connecting the extender to your internet router, it is important to set it up through the Altice web page, where various settings can be adjusted.
Make sure you have an Ethernet cable before proceeding with the connection process.
Here’s how you can connect your extender to a PC or laptop;
- Find a desktop device that has an Ethernet port.
- Connect one end of the Ethernet cable to your Altice extender connector.
- Plug the other end of the Ethernet cable into the port on your desktop device.
- Wait for your desktop device to detect and recognize the Altice Extender.
If successful, you should receive a notification on your desktop device indicating its recognition. Once this happens, you can move on to the next step.
Step 3: Get The Login Details
To configure and access the settings of your extender, you will need login credentials. These credentials are necessary for activating the web setup of your extender and must be entered before accessing its options.
You should connect your PC or laptop to the extender using a wired connection to get these credentials.
Here’s a breakdown of the required information and how to find it:
- Default Gateway of the router (usually found on a sticker beneath the device)
- Password (the security code used for accessing the router’s settings)
- Model Number of the extender (usually printed on a sticker beneath it)
- SSID (the Network Name associated with your router’s access point)
While we primarily focus on the three items in this list, it’s advisable to have all these values handy in case any prompts require them. Once you have identified all these credentials, jot them down on your phone or paper for reference during login.
Step 4: Setting up The Extender And Accessing Its Settings
Now that you have understood the process of setting up an Altice WiFi Extender let’s move on to the next step, which involves Configuring through the web interface.
Creating a web profile for your extender and ensuring it works seamlessly with your WiFi requires attention to detail. Make sure you have all the credentials and verify their accuracy.
Here’s a simple breakdown of how to access the settings of your extender:
- Open a web browser on your PC or laptop connected to the extender.
- Enter the default gateway address of your extender in the browser’s search field.
- On the following page, enter your extender’s model number.
- Log in by using “admin” as username and password.
- Access the settings of your extender.
Once you’re inside the extender’s settings, let’s proceed with setting it up!
Here are the steps to set up an Altice WiFi Extender through its web interface:
- Choose whether you want your extender to function as an access point or not.
- Assign an SSID (name) for your extender that matches your existing WiFi network.
- Create a password for the extender that will be used to establish the connection.
- After setting the password, proceed with the remaining instructions.
Step 5: Connect The Extender to Your Router
Once you have successfully set up your extender, the next step is establishing a connection with your router.
This step is quite straightforward as the connection between your extender and router will be wireless using WPS (WiFi Protected Setup).
To pair your extender with the router, follow these steps:
- Turn on the extender. Wait for the red light to flash.
- Press the WPS button on the extender.
- Within 60 seconds, press the WPS button on your router.
- Wait for both the WPS lights on your extender and router to turn white.
- Once completed, disconnect the extender from your PC or laptop that you used for setup.
Remember not to unplug or disconnect the extender from your PC or laptop until both WPS lights have turned solid white. It indicates a connection between devices.
Step 6: Placing The Extender
Now let’s move on to the step of our guide, which involves positioning your Altice extender!
Consider the zone’s location and your router’s location to determine where the extender should be placed. Find a spot that falls between these areas.
Look for an outlet approximately 20 meters from your router and about 20 to 30 meters from the dead zone.
Connect your extender to this outlet. It should soon provide coverage for the previously problematic dead zone!
Frequently Asked Questions
To check the status of your extender, examine the LED lights. If the lights remain solid, it indicates a connection. Additionally, you can test the internet connectivity by connecting a device to the extender’s network.
Using an ethernet cable, you can use an Optimum extender with any WiFi router. However, it’s important to note that Optimum extenders are primarily designed for compatibility with Optimum routers.
Remember that compatibility with routers may vary, so it’s advisable to consult the extender’s specifications or contact the manufacturer for confirmation.
Typically, the setup process takes around 5 to 10 minutes. However, if you are using a WPS connection method, it might take longer.
When working properly, the WiFi icon LED on your extender should emit a white light. If you observe a red or flashing white light instead, it suggests that you must relocate the extender closer to your router.
The WPS button found on the extender establishes a secure connection between the extender and the primary router. To utilize this feature, simply press the WPS button on both the router and the extender within a 2-minute timeframe.
Wrapping Up
Once you’re done setting up your Altice WiFi Extender, you can enjoy its enhanced network capability.
Remember that the extenders coverage range may differ based on factors like the building’s structure and materials used during construction. Therefore, you should experiment by trying out spots to find the one with the signal.
Chris loves technology, specifically smart home technology! With both hands-on and executive leadership experience in his corporate career, Chris stays abreast of emerging technology and solutions and immerses himself in BCCA when not in the office.