The TP-Link router plays a crucial role in connecting your home or office to the internet. It’s essential to prioritize its security, and one important step is to change your router’s password.
This detailed article not only explains how to reset your TP-Link router password but also provides a step-by-step configuration guide to ensure that your network is protected against threats while optimizing its performance.
Whether you’re concerned about network security, need to update your password due to sharing it with others, or simply want to fine-tune your router for functionality, this guide has got you covered.
In addition to securing your network with a password, the comprehensive configuration guide will help you make the most out of your TP-Link router’s efficiency and effectiveness.
By following these instructions, you’ll be well prepared to protect your network and enhance its performance, ensuring a secure online experience for everyone.
Table of Contents
- Router Password Vs. Wi-Fi Password
- Why You Should Reset Your TP-Link Router Password?
- How To Reset TP-LINK Router Password?
- Full Configuration Guide for TP-Link Router
- Step 1: Accessing the Routers Web Interface
- Step 2: Changing the Default Login Credentials
- Step 3: Updating Router Firmware
- Step 4: Configuring Wireless Settings
- Step 5: Guest Network
- Step 6: Set Up Port Forwarding
- Step 7: Enable Quality of Service (QoS)
- Step 8: Configure Parental Controls
- Step 9: Enable Firewall and Security Features
- Step 10: Save Your Settings
- Frequently Asked Questions
- Closing Thoughts
Router Password Vs. Wi-Fi Password
To understand the distinction between a router password and a Wi-Fi password, it’s important to note that they serve different purposes.
The router password is required to access the settings of your router, while the Wi-Fi password is used to connect devices to your router’s network.
When you initially set up your router, it typically comes with a default password that is widely known and easy for others to guess such, as “admin.”
Because of this, I strongly advise changing the default router password in order to prevent individuals from accessing your router settings. Failure to do so could potentially lead to being locked out of your router.
Why You Should Reset Your TP-Link Router Password?
Before we jump into the process of resetting your TP-Link router password, let’s first understand the importance of doing so.
Improved Security
To have a secure network, it is of utmost importance to regularly change your router password to something strong and unique. It should be easy for you to remember but at the same time, difficult for others to guess.
When you continue using the default password, you leave your network’s doors open for unwanted guests, i.e., unauthorized users.
With time, we tend to share the Wi-Fi password with extended family members and friends. Some of them may not even be in touch with us at present, so it is better to reset your password. This will reduce the number of unwanted users who have your credentials.
Enhancing Network Performance
Router settings can become outdated and cause issues with the performance of the network as time goes by. By resetting the router password, you can give it a new lease of life by reconfiguring it for optimum performance.
How To Reset TP-LINK Router Password?

It’s always a good idea to change your TP-LINK router password when you first start using it, or if you want to make sure only you can access it securely.
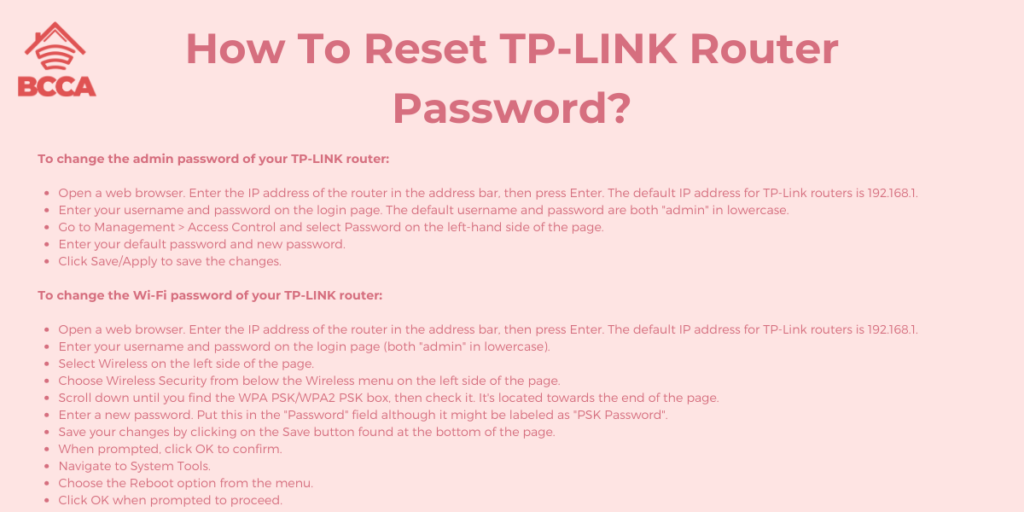
To change the admin password of your TP-LINK router:
- Open a web browser. Enter the IP address of the router in the address bar, then press Enter. The default IP address for TP-Link routers is 192.168.1.
- Enter your username and password on the login page. The default username and password are both “admin” in lowercase.
- Go to Management > Access Control and select Password on the left-hand side of the page.
- Enter your default password and new password.
- Click Save/Apply to save the changes.
To change the Wi-Fi password of your TP-LINK router:
- Open a web browser. Enter the IP address of the router in the address bar, then press Enter. The default IP address for TP-Link routers is 192.168.1.
- Enter your username and password on the login page (both “admin” in lowercase).
- Select Wireless on the left side of the page.
- Choose Wireless Security from below the Wireless menu on the left side of the page.
- Scroll down until you find the WPA PSK/WPA2 PSK box, then check it. It’s located towards the end of the page.
- Enter a new password. Put this in the “Password” field although it might be labeled as “PSK Password”.
- Save your changes by clicking on the Save button found at the bottom of the page.
- When prompted, click OK to confirm.
- Navigate to System Tools.
- Choose the Reboot option from the menu.
- Click OK when prompted to proceed.
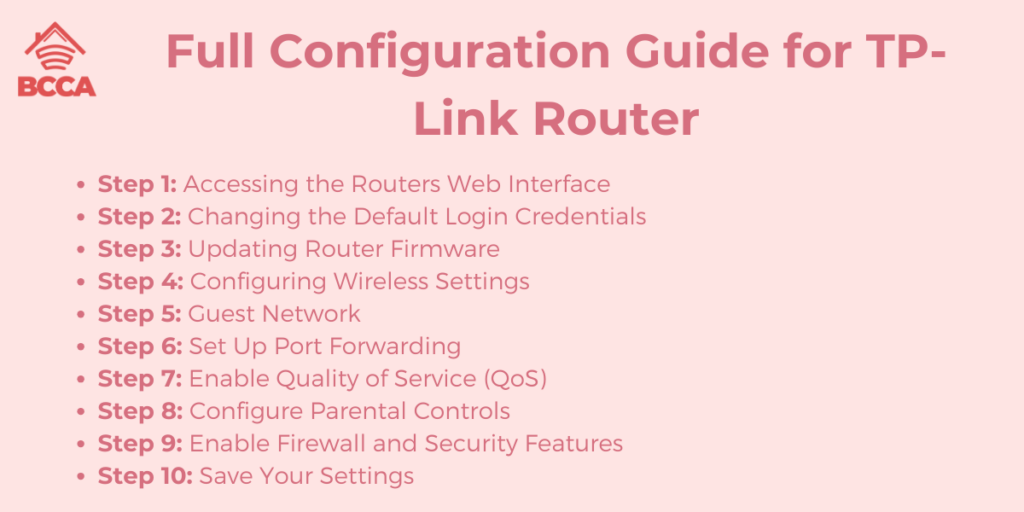
Full Configuration Guide for TP-Link Router

Now that you’ve reset your TP-Link router’s password, it’s an opportunity to optimize your network settings. Follow this step-by-step guide to configure your TP-Link router for security and optimal performance.
Step 1: Accessing the Routers Web Interface
To begin, you’ll need to log in to the web interface of your router. Simply enter the IP address of your router into your web browser.
Step 2: Changing the Default Login Credentials
Once you’ve logged in using the default username and password, head over to the administration section to modify the login credentials for your router. It’s important to choose a unique username and password, and don’t forget to save any changes made.
Step 3: Updating Router Firmware
Router manufacturers regularly release firmware updates that enhance security and performance. Ensure that you check for any updates for your router and install them promptly so that you’re running on the software version.
Step 4: Configuring Wireless Settings
Within the wireless settings section, there are adjustments you can make:
- Modify the Wi-Fi network name (SSID) with something unique
- Enable WPA3 or WPA2 security protocols for added wireless network protection.
- Set a Wi-Fi password to prevent unauthorized access.
By following these steps, you can effectively set up your TP-Link router with security measures and optimized performance.
Step 5: Guest Network
Consider setting up a network for guests to enhance the security of your network. This way, visitors can connect to the internet without gaining access to your network.
Step 6: Set Up Port Forwarding
If you have devices like gaming consoles or security cameras that need access, configure port forwarding. This will ensure smoother data flow to these devices.
Step 7: Enable Quality of Service (QoS)
Prioritize types of network traffic for performance by enabling Quality of Service (QoS). You can prioritize devices or applications that require it the most, such as streaming or online gaming.
Step 8: Configure Parental Controls
If you have children or want to control access to some websites, enable parental controls. You can block sites and set time limits on internet usage.
Step 9: Enable Firewall and Security Features
Protect your network from threats by enabling and configuring the firewall and security features on your TP-Link router. Ensure they are properly enabled and set up.
Step 10: Save Your Settings
Remember to save your settings after implementing all these changes in order for them to take effect effectively.
Frequently Asked Questions
To begin, connect the router to your computer using an ethernet cable and access the web interface. From there, simply configure the settings, save them, reconnect your devices to the Wi-Fi network, and ensure that you update the firmware.
This process guarantees that your router remains secure, has access to the features, and operates properly.
Firstly, check if there are any firmware updates for your TP-Link router and proceed with installing them. If problems persist after this step, it’s advisable to reach out to TP-Link support for assistance.
They will be able to guide you through solutions or advise whether repairing or replacing the router is necessary.
The time required for resetting a router can vary depending on factors such as the model and reset method being used. However, generally speaking, most routers take 2 minutes to reboot and restore their factory default settings.
If resetting is performed through the web interface or an app, it may take longer—around 3 to 5 minutes.
Typically, TP-Link routers have a default username of “admin” and a default password that is often set as “admin” as well. However, certain TP-Link routers might have default login credentials.
Closing Thoughts
It is essential to change the password on your TP-Link router on a regular basis in order to maintain the integrity of your private network.
Regardless of whether you want to access the router setup panel via a web browser or the TP-Link Tether app, it is recommended that you implement best practices such as choosing a unique password and updating it frequently.
By doing so, you will help in the prevention of unauthorized individuals from having access to the settings of your router.
You can ensure the safety and privacy of the network in your house by following the measures outlined in this article and making sure to adhere to all of their recommendations.
Chris loves technology, specifically smart home technology! With both hands-on and executive leadership experience in his corporate career, Chris stays abreast of emerging technology and solutions and immerses himself in BCCA when not in the office.
