
Given their reliability and cost-effectiveness, wireless communication platforms like Wi-Fi have drastically influenced the decisions of many new homeowners to only rely on wireless networks, completely eliminating the need for Ethernet cables.
Certain circumstances may require a wired internet connection. Gamers especially tend to prefer using an Ethernet cable as it helps them avoid any potential problems with latency while engaging in gaming experiences.
If you’re considering setting up an extensive Wi-Fi Mesh network that covers your entire property, it is crucial to place Ethernet outlets strategically throughout various locations in your home. In case your house does not currently possess any ethernet cables installed, this practical guide has been created precisely to offer assistance for this issue.
Despite the growing popularity surrounding wireless networks and Wi-Fi technology, they still need to reach the same level of satisfaction that can be effortlessly provided by a secure wired network connection.
Wired ethernet connections not only provide high-speed access but also come equipped with enhanced security measures that ensure a steadfast network connection within your household.
If you happen to be curious about learning how you can effectively push an Ethernet cable through a wall, look no further than this article, as it lays out an easy-to-follow step-by-step guide that makes the entire process trouble-free for you.
Table of Contents
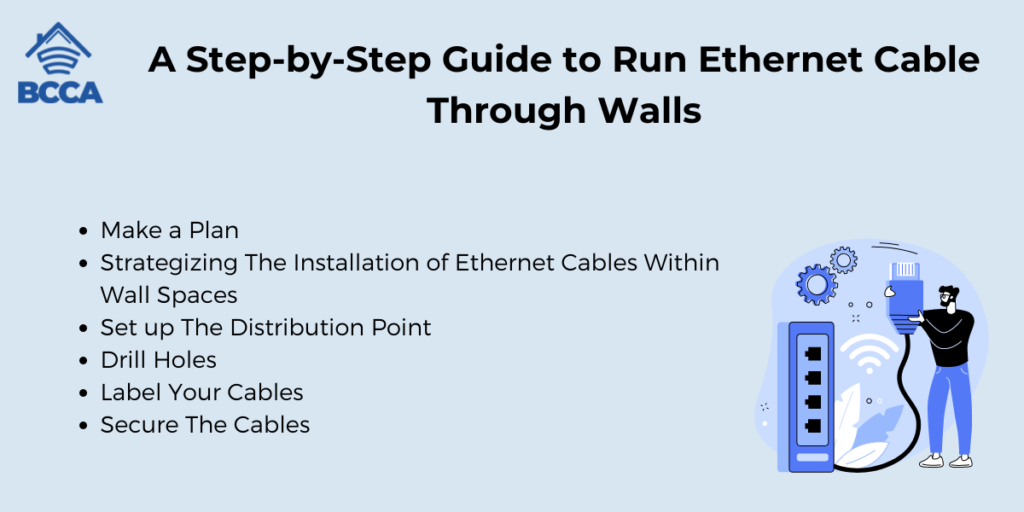
A Step-by-Step Guide to Run Ethernet Cable Through Walls
If you have decided to set up a wired connection in your home, this guide will explain how to run ethernet cables through walls.
We have broken down the process into six simple steps allowing you to easily install the cables yourself without needing professional assistance.
1. Make a Plan
Which room will be equipped with the Ethernet cable?
The first step in this process is planning. You must identify which rooms or spaces will require ethernet cables.
This could involve extending existing wiring to other areas of your house and office or installing new wiring altogether. Regardless of the situation, it is crucial to plan the layout of the rooms, familiarize yourself with the wall structure and determine how many outlets are necessary.
Where Should You Establish Your Ethernet Distribution Point?
Now that you have done the planning on where to set up the ethernet cables, it’s important to carefully select a suitable location for the starting or distribution point.
This is where you’ll want to position your modem, router, or ethernet switch for optimal convenience. It’s also the space where the cable from your Internet Service Provider (ISP) will ultimately connect to establish the Internet connection.
Taking the time to choose this location wisely ensures easy access and efficient networking operations in your home or office.
As all other cables from different rooms and points will converge here, it is wise to select a distribution point that offers the shortest path possible.
Which Cables To Use?
Before you run a cable from your weatherproof box into your home, it is important to ensure that you have the best one suited for your needs. A cable that is meant for outdoor use and is weatherproof is crucial.
It is also important to determine the speed of internet service provided by your service provider. Select a cable that can handle that particular speed. The newer ethernet cables, like cat8 and cat7, are capable of managing speeds up to 40 and 10 Gbps, respectively.
On the other hand, older ethernet cables like cat6 and cat5 can deliver speeds ranging from 1,000 to 100 Mbps. Speed should be given due consideration as well.
Check both your speed requirements and the speed offered by your ISP (Internet Service Provider). Cat8 ethernet cable provides unmatched speeds of up to 40 Gbps, while Cat7 supports speeds of up to 10 Gbps.
In comparison, older cable types, such as cat6 and cat5, allow maximum speeds of 1,000 Mbps and 100 Mbps, respectively.
It’s important to remember that a fast ethernet cable cannot increase the internet speed coming from your provider. A slow ethernet cable can act as a bottleneck causing sluggish internet speeds within your home.
Which Tools Are Needed?
It is important to equip yourself with the necessary tools for running ethernet cables through your walls.
The tools needed for wiring are:
- An electric cordless drill
- A reciprocating saw
- Stud finder
- Electrical tape
- Fish tape and wire strippers
- A label marker
- Velcro straps
On the other hand, the tools needed for ethernet installation include:
- Ethernet switch and wall socket
- Cable concealers
- RJ45 crimper and plugs.
2. Strategizing The Installation of Ethernet Cables Within Wall Spaces
Now that you have thoroughly considered all the important factors, you can proceed confidently in your decision-making process.
To simplify things further, it is highly recommended that you create a well-designed wiring plan. This will greatly aid in streamlining your efforts and ensuring a more efficient installation process overall.
It’s important to allocate enough time for carefully examining any available drawings or blueprints of the space as they serve as valuable references for evaluating layout considerations and determining necessary wire lengths. Additionally, utilize online resources designed specifically for creating comprehensive wiring plans; give particular attention to their suggested cable paths and evaluate their practicality accordingly in cases where wires may need to pass through wall openings, attics, or crawl spaces while maintaining adherence to said paths.
3. Set up The Distribution Point
To begin, it is recommended to construct or establish a distribution point. Prior to doing so, please ensure that the main circuit breaker in your house is turned off.
This precautionary measure will prevent any possible short circuits in the event of accidentally hitting an electric wire while drilling into the walls. As you will be drilling into the walls, it is necessary to locate the studs for attaching the wiring panel. Use a stud finder and carefully slide it along the wall until you find the appropriate stud.
Once located, create an inspection hole between these studs. The dimensions of this hole should approximately measure 4 inches by 4 inches. Use a drywall saw to skillfully craft this opening. Its purpose is to ensure there are no obstructions behind the wall where you have chosen to position the distribution point.
For effective organization and secure arrangement of Ethernet cables within this distribution point, resorting to a structured wiring panel specifically designed for this purpose is highly advisable. Typically taking on the form of a box, this panel can be securely affixed to the studs inside the previously created hole using screws.
4. Drill Holes
In the following step of this project, it is crucial to demonstrate precision when drilling holes in predetermined locations while considering both the specific needs of your home and the unique aspects of your walls, floors, or ceilings. To ensure a seamless process from here on out, start by carefully creating a hole directly above your distribution/network panel.
As you advance further away from this central point during drilling activities, it becomes imperative to correctly install ethernet wall plugs. This will ensure an efficient connection throughout all areas of your home network.
It is worth noting that placing these drilled holes adjacent to electronics such as laptops, televisions, and gaming consoles that rely on internet connectivity for effortless usage is highly recommended.
It’s possible that you may encounter obstacles like brick walls or built-in barriers whilst carrying out these drilling tasks; however, armed with appropriate tools and equipment, one can certainly overcome them.
To ensure precision along all walls where the cable will run through, it is highly recommended to mark cutting locations beforehand using a ruler or measuring tool. Once these holes have been accurately created, it’s time to proceed with efficient cable threading through the designated pathways.
5. Label Your Cables
Maintaining precision is crucial when assigning labels to wires during Ethernet installations in various rooms. It is highly recommended, especially for home office settings, to use appropriate designations such as “bedroom,” “living room,” or “office.”
Once labeled correctly, proceed with running Ethernet cables through walls and into attic spaces making sure to clearly mark the route.
Carefully insert the wires into designated holes within existing outlets to ensure smooth connections. If there are visible wires, gently extend them through walls until they reach the desired length.
6. Secure The Cables
After successfully running the ethernet cables through the holes, secure them firmly using a punch-down tool. Then, connect the cables to the ethernet wall sockets. Finally, ensure the utmost security of the cables by using cable ties or straps.
The Bottom Line
The benefits of wired ethernet connectivity surpass those of its wireless counterpart. It offers impressive speed performance without any latency issues, and it is extremely reliable in establishing network connections.
Therefore, opting for wired connections proves to be advantageous. Although we heavily rely on Wi-Fi for our smartphones, tablets, and laptops. It is important to consider the significant performance boost that wired ethernet provides for gaming PCs, TVs, and gaming consoles.
If your home lacks ethernet outlets, there is no need to worry. It is possible to install ethernet cable wiring yourself.
Our detailed guide above provides solutions for overcoming the challenges associated with routing ethernet cables through house walls. It offers comprehensive step-by-step instructions on how to wire your entire abode for seamless wired ethernet connectivity.
Chris loves technology, specifically smart home technology! With both hands-on and executive leadership experience in his corporate career, Chris stays abreast of emerging technology and solutions and immerses himself in BCCA when not in the office.