
Your daily to-do list probably does not include checking the status of your home internet. But what if your internet is acting weird lately, or the speed has decreased suddenly? Or are you just curious to know who is using your Wi-Fi?
All of these are great reasons to run a quick check on your Wi-Fi connections and tighten the security to prevent unauthorized entities from consuming your entire bandwidth.
While you may consider it safe to share your Wi-Fi with others, doing so can result in slower connections and data usage. And if multiple devices are attached to your network, a hacker can also access their details. So, it is natural to wonder who all are lurking on your Wi-Fi.
All your household devices, such as laptops, smartphones, gaming consoles, and smart devices, are connected to your wireless network. Hence, it is useful to know how many devices are connected. This will help you determine what is causing the speeds to drop or if some freeloader is hogging your network.
In this article, we will explore different quick and easy ways to check the devices connected to your Wi-Fi network.
Table of Contents
Methods To Check The Devices Connected To Your Wi-Fi
You may accomplish this in one of two ways: via your router’s web interface or network scanning software. Try both methods for better outcomes and check to confirm if the connected devices are shown under both categories.
1. Router’s Web Interface
Keeping an eye on your connected devices and modifying your settings has never been easier. To enter the interface of your router, you’ll usually need to enter its IP address in your web browser. The IP address is typically displayed on the side or bottom of your router or on the booklet that came with it.
In just a few clicks, you’ll have total control over the various aspects of network management. And with this knowledge at your fingertips, there’s no need to stress about device connectivity – you’ll always have a clear picture of what’s active!
If you are not able to find your IP address, don’t worry we will provide you with easy-to-follow instructions on retrieving it.
For Windows:
Step 1: Let’s start by opening a command prompt. To do this, go to the Start Menu or click on the Windows icon in the lower-left corner of your desktop. In Windows 10, you can right-click on the Windows icon and select “Search.”
Type “Command” in the search field, and you’ll see “Command Prompt” appear. Click on it to open the command prompt.
Step 2: In the command prompt window, you need to run the “ipconfig” command. Simply type “ipconfig” and hit enter.
Step 3: Look at the output listing that appears on your screen. You’re specifically interested in the section that says “Default Gateway.” The number next to it represents your router’s IP address.
For macOS:
Step 1: Open System Preferences on your Mac.
Step 2: Within System Preferences, click on the “Network” icon located under the “Internet and Wireless” section.
Step 3: In the left panel, select “Wifi” or “AirPort,” depending on your macOS version. Then click on the “Advanced” button.
Step 4: A new window will appear. Choose the “TCP/IP” tab, and you’ll find your router’s IP address listed under “Router.”
Now that you have obtained your router’s IP address, you can open a web browser and enter the IP address into the URL or address field. This action will take you to your router’s login screen.
In order to gain access into your router’s web interface environment, there are certain user authentication requirements that must be satisfied first, typically consisting of an assigned username and associated account password. It is quite common for routers today to feature relatively easy-to-guess default login settings – often, both fields will use “admin” by default.
If you don’t know the login information, check the side or back of your router, as it might be listed on a sticker. Additionally, you can refer to the documentation or box that came with your router for the password.
If you’re unable to find the login information using the above methods, you can search online by Googling the admin password along with your router’s brand and model. If all else fails, contacting your router’s manufacturer for login assistance may be necessary.
Finding out which devices are currently connected to your network can easily be done by logging into your router’s web interface first and then browsing through the different menus or dashboard options available until you locate the section that shows all connected devices.
The name of this section might differ based on what kind of interface you are using; hence it could either be called “clients” or “devices.”
You’ll need enough time exploring around an unfamiliar area, but if needed, feel free to check out any accessible assistance links provided in order not to waste any more time! Once there, you will see details like the device name along with their IP and MAC addresses which will be essential in identifying them on your network.
Just remember that you might come across a different design and layout when navigating your router’s web interface, so it’s always wise to familiarize yourself accordingly.
2. Scanning Applications
Even though the router’s web interface is the most reliable method to identify the connected devices, it cannot be possible or practical in some circumstances. Scanning software applications are the best bet in such situations.
Scanning apps are used by network administrators commonly to keep their networks secure from potential threats. These apps scan your Wi-Fi and provide you with a list of devices connected to your network. But, unlike the router’s web interface, scanning apps only show you the devices that are connected and online, not the offline ones.
There are many apps available based on your operating system to scan your Wi-Fi. For macOS, LanScan and SoftPerfect are commonly used. For macOS, Windows, and Linux, Angry IP Scanner is a reliable choice. So, when your router does not allow you to see the list of devices via its web interface, you can download a scanning tool to do so.
Identifying The Devices
Tracking down some devices that are connected to your router via the web interface or network scanning software can be quite challenging when they’re unfamiliar to you. The descriptions provided might not give enough clarity, and it’s unlikely that you have a list of all MAC addresses for every single device in use at home or work premises.
But don’t worry – there is a simple process to aid identification; It entails switching off each recognized device at a time until only the unidentified device is still connected to your network. Elimination could help identify the unfamiliar device.
If even doing this process several times does not solve your problem, then maybe someone logged on without permission. So, you must change passwords as appropriate before resetting your router so that no intruders remain lurking around undetected anymore.
Being aware and vigilant with every questionable addition to your network, as well as taking sensible steps wherever needed regarding third-party devices- known or not known- will undoubtedly enhance overall network security.
How to Remove Unwanted Devices From Your Network?
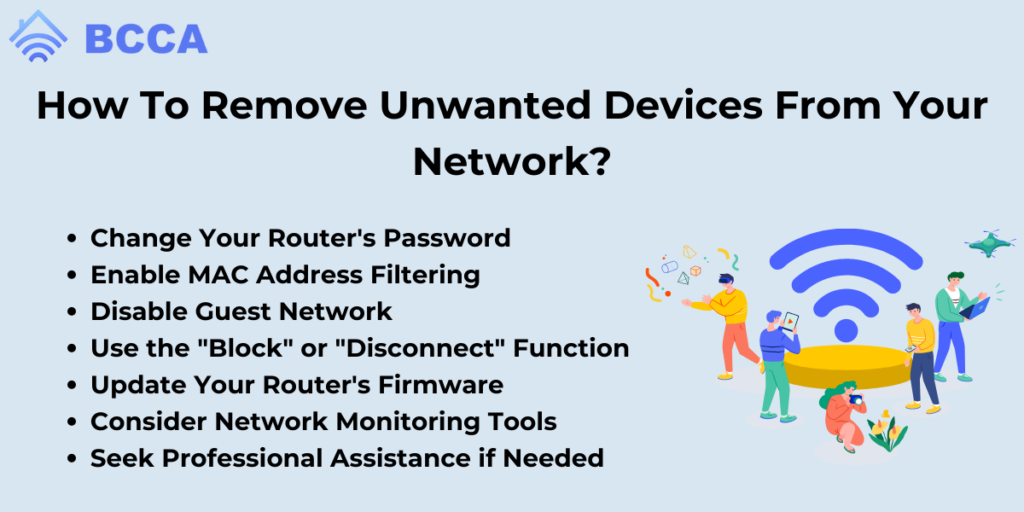
Unauthorized devices being found on one’s network not only raises concern regarding data privacy breaches but also heightens the threat of insecurities being infiltrated into our system. However, there are effective steps you can take towards removing them alongside implementing security measures on your networks. Here is a comprehensive guide for removing unwanted devices from your network:
1. Change Your Router’s Password
The first step we recommend is changing your router’s password, preventing unauthorized access, and disconnecting any device that does not have the new password.
2. Enable MAC Address Filtering
Enabling MAC address filtering with routers that offer this feature for generating a whitelist of authorized devices to connect to your network- while blocking everything else from accessing it.
3. Disable Guest Network
Disabling guest networks is an added precaution since these networks are primarily intended for temporary use by visitors- limiting access to just trusted users on your network system.
4. Use the “Block” or “Disconnect” Function
Accessing one’s router’s web interface and locating connected devices would consequently enable owners to disconnect or block individual devices that look suspicious or are identified as unwanted. Severing their link from our system becomes crucial when such discovery arises.
5. Update Your Router’s Firmware
Regularly updating one’s router firmware plays a vital role in ensuring vulnerability protection and remaining ahead in security by incorporating regular security patches embedded within vital updates released by manufacturers.
6. Consider Network Monitoring Tools
Fortifying connectivity with monitoring tools such as installing software and applications gives real-time information about suspicious or wanted activity – making it easier to detect unwanted entries infiltrated into the system.
7. Seek Professional Assistance if Needed
Should nothing seem fruitful, getting professional assistance from the manufacturer or consulting with a network security specialist can make all the difference in resolving any data privacy breach-related issues.
Summary
Your Wi-Fi network’s overall performance and security heavily rely on consistently monitoring how many devices are currently connected. By referring to our simple steps, finding out the number of connected devices can be efficiently accomplished through either accessing your router’s web interface or using a scanning application.
Frequent checks on how many devices connect with the system enable prompt responses to potential risks, thereby keeping your data and network secure.
Chris loves technology, specifically smart home technology! With both hands-on and executive leadership experience in his corporate career, Chris stays abreast of emerging technology and solutions and immerses himself in BCCA when not in the office.